How to Pressure Can Chickpeas: Your Ultimate Guide to a Well-Stocked Pantry
Imagine having perfectly cooked, ready-to-use chickpeas at your fingertips for any meal, any time. No last-minute soaking, no lengthy boiling – just open a jar and create culinary magic. This isn't just a dream; it's the reality you can achieve by learning how to can chickpeas right in your own kitchen. Pressure canning chickpeas is a rewarding and surprisingly straightforward process that will transform your meal prep, save you money, and elevate the flavor of your favorite dishes.
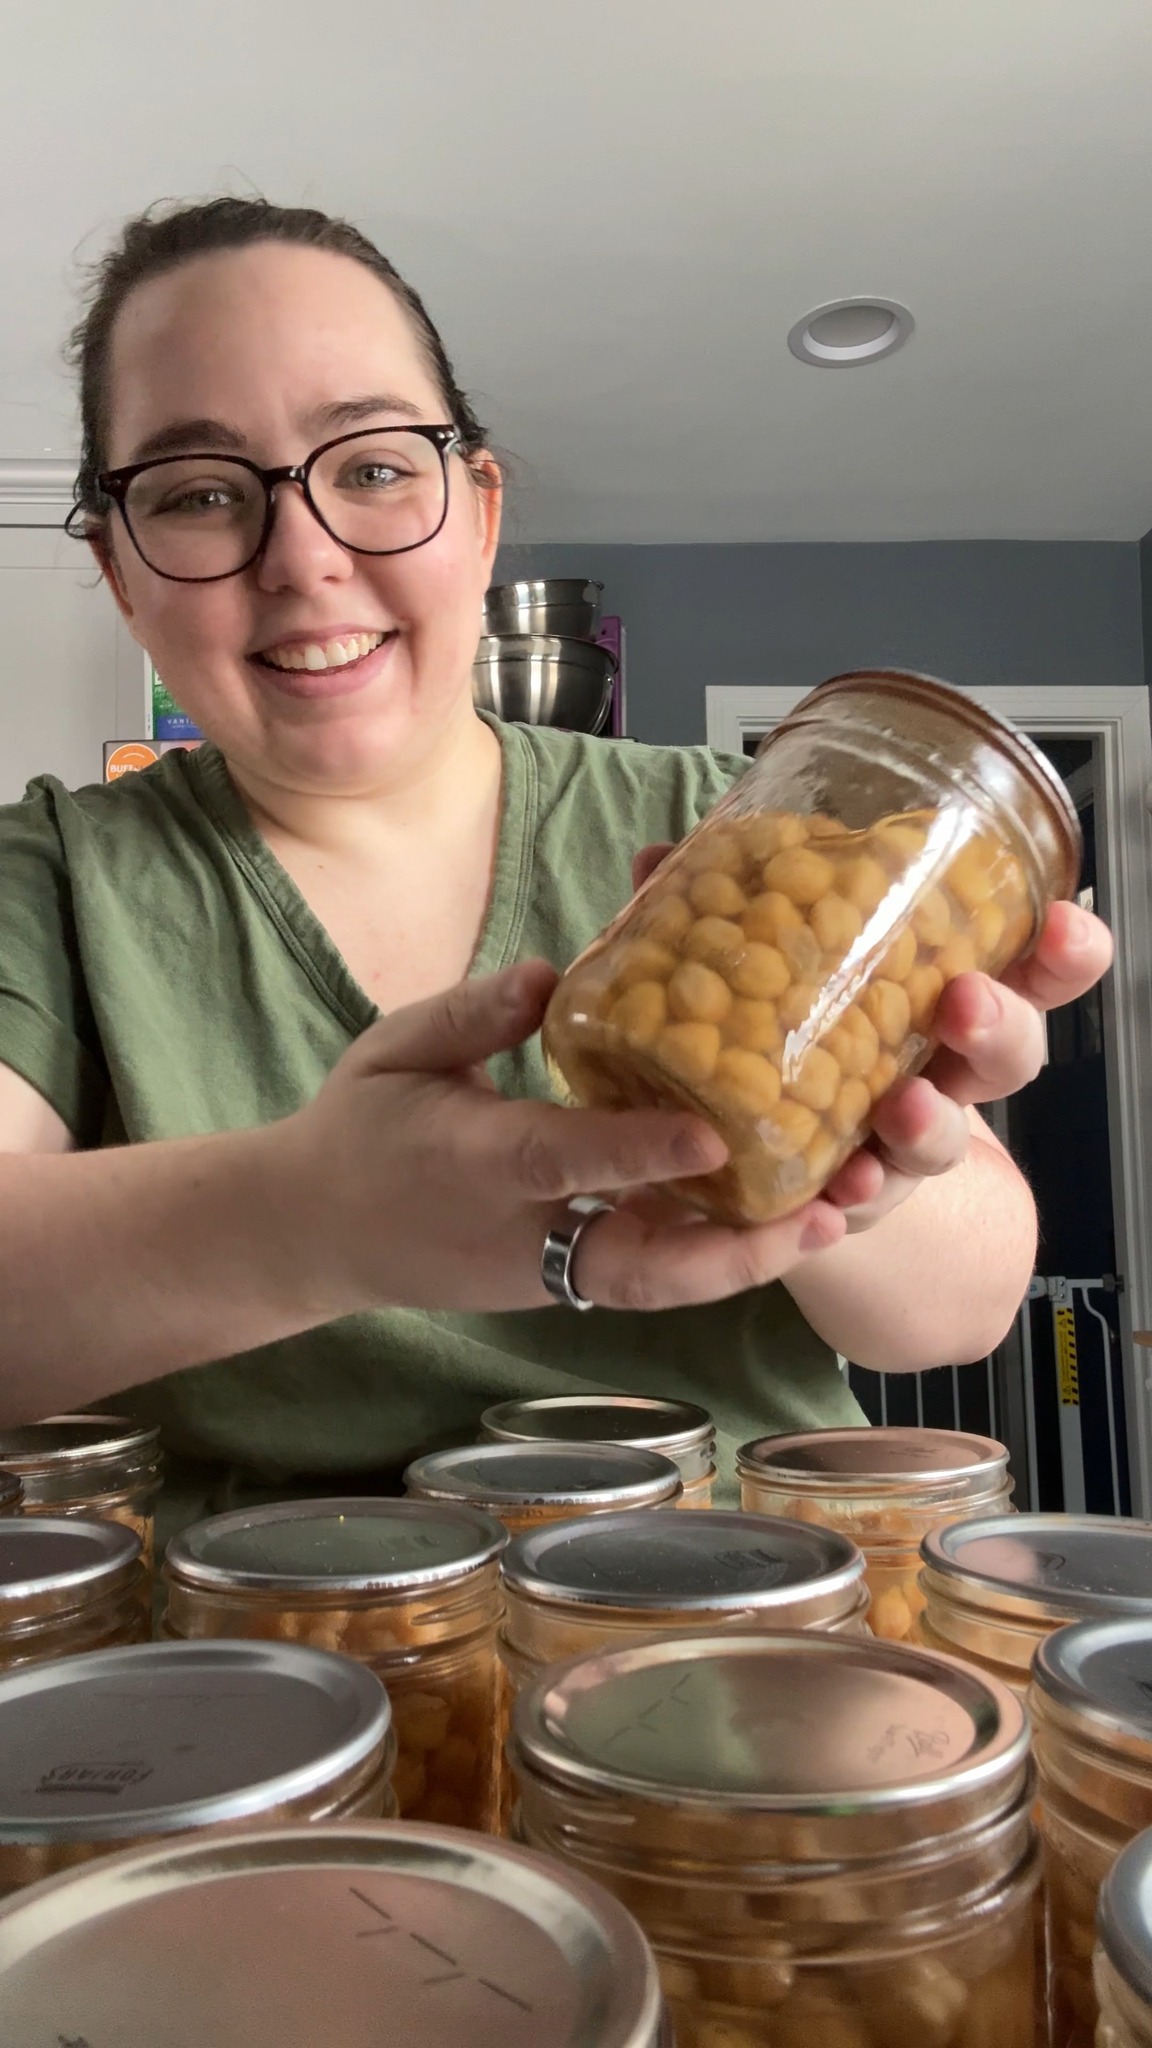
Many home cooks, myself included, have discovered the immense satisfaction of stocking their pantries with homemade staples. From canned tomatoes to vegetable broth, these prepped ingredients significantly cut down on cooking time and grocery expenses. Given my deep appreciation for chickpeas – often cooking dried ones and freezing them – discovering the art of pressure canning them for an even longer, shelf-stable life was a game-changer. Once you embark on this journey, you'll wonder how you ever managed without your own supply of delicious, home-canned garbanzo beans.
Why Pressure Can Your Own Chickpeas? The Ultimate Pantry Staple
Beyond the simple act of preservation, there are compelling reasons to master how to can chickpeas at home. It's a practice that offers unparalleled benefits for your time, taste buds, and budget.
Unmatched Convenience and Time Savings
The most immediate and obvious benefit of canning chickpeas is the sheer convenience. Store-bought cans are great, but with home-canned chickpeas, you have complete control over every aspect. Forget the long hours of soaking and boiling dried beans when a recipe calls for them. Your home-canned chickpeas are ready to be used instantly in any dish. Picture whipping up a creamy hummus, a hearty chickpea soup, or a vibrant chickpea salad in mere minutes – all because your chickpeas are prepped and waiting.
This convenience is particularly valuable for busy weeknights or spontaneous cooking adventures. Having these nutritional powerhouses on standby means wholesome, homemade meals are always within reach, eliminating the need for extra shopping trips or relying on less healthy convenience foods.
Superior Taste, Texture, and Nutritional Control
One of the most frequently lauded benefits of home-canned foods is their superior quality, and chickpeas are no exception. Home-canned chickpeas consistently boast a fresher taste and a wonderfully creamy texture that often surpasses their store-bought counterparts. Commercial canning processes can sometimes leave chickpeas with a slightly metallic taste or a firmer, less appealing texture. When you learn how to can chickpeas yourself, you control the doneness, ensuring they're perfectly tender every time.
Furthermore, canning at home puts you firmly in control of the ingredients. You decide whether to add salt for flavor or leave them plain for maximum versatility in future recipes. You avoid unnecessary preservatives, added sugars, or other additives often found in commercially processed goods. This level of control means you can tailor your chickpeas to your exact dietary preferences and ensure they are as wholesome as possible. Chickpeas themselves are a fantastic source of plant-based protein, dietary fiber, and various minerals, making them an excellent addition to any healthy diet.
Cost-Effectiveness and Sustainable Living
Financially, buying dried chickpeas in bulk is significantly cheaper than purchasing them pre-canned. By investing a little time upfront to can them yourself, you can achieve substantial savings on your grocery bill over the long term. This cost-effectiveness allows you to enjoy a nutritious staple without breaking the bank, making healthy eating more accessible. For more detailed advice on the financial benefits, check out Save Money & Time: Easy Steps to Canning Chickpeas at Home.
Beyond personal savings, home canning also aligns with a more sustainable lifestyle. It reduces packaging waste associated with store-bought cans and encourages bulk purchasing, which often has a smaller environmental footprint. It's an empowering step towards self-sufficiency and mindful consumption. And to truly appreciate the difference in quality, read Unlock Superior Flavor: Why Home-Canned Chickpeas Beat Store-Bought.
Essential Tools and Ingredients for Successful Chickpea Canning
Before diving into the process of how to can chickpeas, it's crucial to gather all your necessary ingredients and equipment. Being prepared ensures a smooth, safe, and efficient canning experience.
What You'll Need (The Bare Essentials):
- Dried Chickpeas (Garbanzo Beans): The star of our show! Look for high-quality, fresh dried beans.
- Water: For soaking, cooking, and filling jars.
- Salt (Optional): A pinch of canning or sea salt can be added to each jar for flavor, typically ½ teaspoon per pint.
- Pressure Canner: This is non-negotiable for canning low-acid foods like chickpeas. A pressure canner (not a pressure cooker) ensures temperatures reach high enough levels to safely preserve your food and prevent botulism. Ensure it has a working pressure gauge (dial or weighted) and a canning rack.
- Glass Canning Jars: Pint jars are highly recommended for chickpeas, as they are a convenient size for most recipes. Ensure they are clean, free of cracks, and specifically designed for canning.
- New Lids and Bands: Always use new canning lids for each batch to ensure a proper seal. Bands can be reused if they are rust-free and not warped.
- Large Bowl: For soaking your dried chickpeas.
- Ladle or Large Spoon: For filling jars.
- Clean Kitchen Cloth and White Vinegar: Essential for wiping jar rims before sealing to remove any food residue that could prevent a proper seal.
Recommended Canning Aids (Optional but Highly Useful):
While not strictly mandatory, these tools can significantly simplify and enhance your canning experience:
- Canning Funnel: Helps keep jar rims clean when filling, reducing spills and waste.
- Jar Lifter (Canning Tongs): Designed to safely lift hot jars in and out of the canner, protecting your hands from heat and spills.
- Bubble Remover Tool: A non-metallic utensil used to dislodge air bubbles from packed jars. A plastic chopstick or slender spatula can also work.
- Magnetic Lid Lifter: Helps retrieve sterilized lids from hot water without touching them.
- Jar Wrench: Can assist in tightening bands securely.
- Labels: Essential for marking your jars with contents and dates for easy pantry organization.
Using the right tools, especially the pressure canner, is paramount for safety when preserving low-acid foods like chickpeas. Never attempt to water bath can chickpeas, as this method does not reach the necessary temperatures to destroy harmful bacteria.
Step-by-Step Guide: How to Pressure Can Chickpeas with Ease
Now that you have your supplies, let's walk through the process of how to can chickpeas from start to finish. Following these steps carefully will ensure a safe and successful batch.
Preparation is Key: Soaking Your Chickpeas
- Rinse and Sort: Start by thoroughly rinsing your dried chickpeas under cold running water. Then, spread them out and sort through them, discarding any shriveled, discolored, or damaged beans, as well as any small stones or debris.
- Soak Overnight: Place the rinsed chickpeas in a large bowl. Cover them with plenty of cold, plain water, ensuring the water level is at least 2-3 inches above the chickpeas. Dried chickpeas will significantly expand, often doubling or tripling in size during soaking. Leave them to soak for 12-24 hours at room temperature.
- Drain and Rinse: After soaking, drain the chickpeas thoroughly and rinse them again under running water. This removes the soaking liquid, which can sometimes cause digestive upset.
Expert Tip: While a "quick soak" method exists (boiling for a few minutes, then resting), the overnight soak generally yields a more consistent texture and is often preferred for canning, as it ensures thorough rehydration.
Packing Your Jars
- Prepare Jars: Wash your canning jars, lids, and bands in hot, soapy water, then rinse well. Keep the jars warm to prevent thermal shock when adding hot contents and placing them in the canner. Many canners suggest sterilizing jars, but for processing times over 10 minutes (which chickpea canning is), simply ensuring they are clean and hot is sufficient.
- Fill with Chickpeas: Using your canning funnel and ladle, fill your warm jars with the soaked and rinsed chickpeas. Leave a generous 1-inch headspace from the top of the jar. This headspace is crucial for proper sealing and to allow for expansion during processing.
- Add Salt (Optional): If desired, add ½ teaspoon of canning or sea salt to each pint jar (or 1 teaspoon per quart jar).
- Cover with Hot Water: Carefully pour hot water over the chickpeas in each jar, maintaining the 1-inch headspace. You can use freshly boiled water or water heated in a pot.
- Remove Air Bubbles: Insert your bubble remover tool (or a non-metallic utensil) into the jar and gently move it around to release any trapped air bubbles. Add more hot water if necessary to maintain the 1-inch headspace after removing bubbles.
- Wipe Rims and Seal: Using a clean kitchen cloth dampened with white vinegar, thoroughly wipe the rims of each jar. This removes any food particles or grease that could prevent a strong seal. Center a new lid on each jar, then screw on the bands fingertip-tight (just until resistance is met, no overtightening).
Pressure Canning Process
- Prepare Canner: Place the canning rack at the bottom of your pressure canner. Add the recommended amount of water to the canner (usually 2-3 inches, or as specified by your canner's manual).
- Load Jars: Carefully place the filled and lidded jars into the canner using your jar lifter. Ensure they are not touching each other or the sides of the canner.
- Vent Canner: Secure the canner lid. Turn the heat to high. Allow steam to escape steadily from the vent pipe for a full 10 minutes. This critical step purges air from the canner, ensuring the internal temperature accurately reflects the pressure.
- Process: After venting, place your weighted gauge or dial gauge onto the vent pipe. Allow the pressure to rise to the recommended level for your altitude (usually 10 lbs for weighted gauge or 11 lbs for dial gauge below 1,000 feet elevation; adjust higher for higher altitudes according to USDA guidelines). Maintain this pressure consistently for the required processing time: 75 minutes for pint jars and 90 minutes for quart jars. Adjust the heat as needed to keep the pressure steady.
- Depressurize and Cool: Once the processing time is complete, turn off the heat and allow the canner to depressurize naturally. Do NOT force-cool the canner. This natural cooling can take anywhere from 30 minutes to over an hour. Do not open the canner until the pressure gauge reads zero (and the air vent lock drops, if applicable).
- Remove and Rest: Once depressurized, carefully remove the canner lid, tilting it away from your face to avoid steam. Using your jar lifter, carefully remove the hot jars and place them on a clean towel or cooling rack, ensuring they are not touching each other. Let them cool undisturbed for 12-24 hours.
- Check Seals: After cooling, check all jar seals. A properly sealed lid will be concave (curved inwards) and will not flex when pressed. Remove the bands, and if the lid remains firmly attached, it is sealed. If any jar has not sealed, refrigerate it immediately and consume within a few days.
Storing Your Home-Canned Chickpeas and Creative Uses
Once you've mastered how to can chickpeas, knowing how to store them properly and unleash their culinary potential is the next step.
Proper Storage for Longevity
After your jars have cooled and you've confirmed they are sealed, remove the metal bands. Storing jars without bands prevents false seals (where a band holds an unsealed lid in place) and prevents rust if moisture is present. Wash the sealed jars to remove any food residue from the exterior. Label each jar clearly with its contents and the date it was canned. Store your home-canned chickpeas in a cool, dark, and dry place, such as a pantry, basement, or cupboard, away from direct sunlight or extreme temperature fluctuations. Properly stored, they can maintain their quality for 1-2 years, often much longer.
Unleash the Versatility of Chickpeas
With a pantry full of home-canned chickpeas, you're equipped to create an array of delicious and healthy meals. Their creamy texture and mild flavor make them incredibly versatile. Here are just a few ideas:
- Classic Hummus: Blend with tahini, lemon juice, garlic, and olive oil for a superior homemade hummus.
- Hearty Soups and Stews: Add to vegetable soups, minestrone, or a robust chili for extra protein and fiber.
- Refreshing Salads: Toss with fresh vegetables, herbs, and a vinaigrette for a quick, satisfying meal.
- Roasted Chickpea Snack: Drain, pat dry, season with spices (paprika, cumin, chili powder), and roast until crispy for a healthy snack or salad topper.
- Curries and Mediterranean Dishes: Integrate into flavorful curries, tagines, or other global cuisines.
- Aquafaba: Don't forget the liquid! The canning liquid (aquafaba) can be drained and used as an egg white substitute in meringues, mousses, or vegan mayonnaise.
Conclusion
Learning how to can chickpeas is a valuable skill that empowers you to take control of your pantry, your budget, and the quality of your food. It transforms an inexpensive dried legume into a convenient, versatile, and delicious ingredient ready for any culinary adventure. The initial investment in time and equipment is quickly repaid by the convenience, superior taste, and significant savings you'll enjoy. Embrace the satisfaction of a well-stocked pantry and the endless possibilities that await with your own perfectly preserved chickpeas.
